Tank Base Preparation
This guide should be followed to ensure the correct base foundation is laid for your water tank. Any damage to your Tanksalot® water tank due to failure or movement of the tank base is not covered by the Tanksalot warranty. Please keep in mind that 1000 litres of water weigh 1000 kg, and this is a significant force. Soft ground may subside under the weight of a full tank.
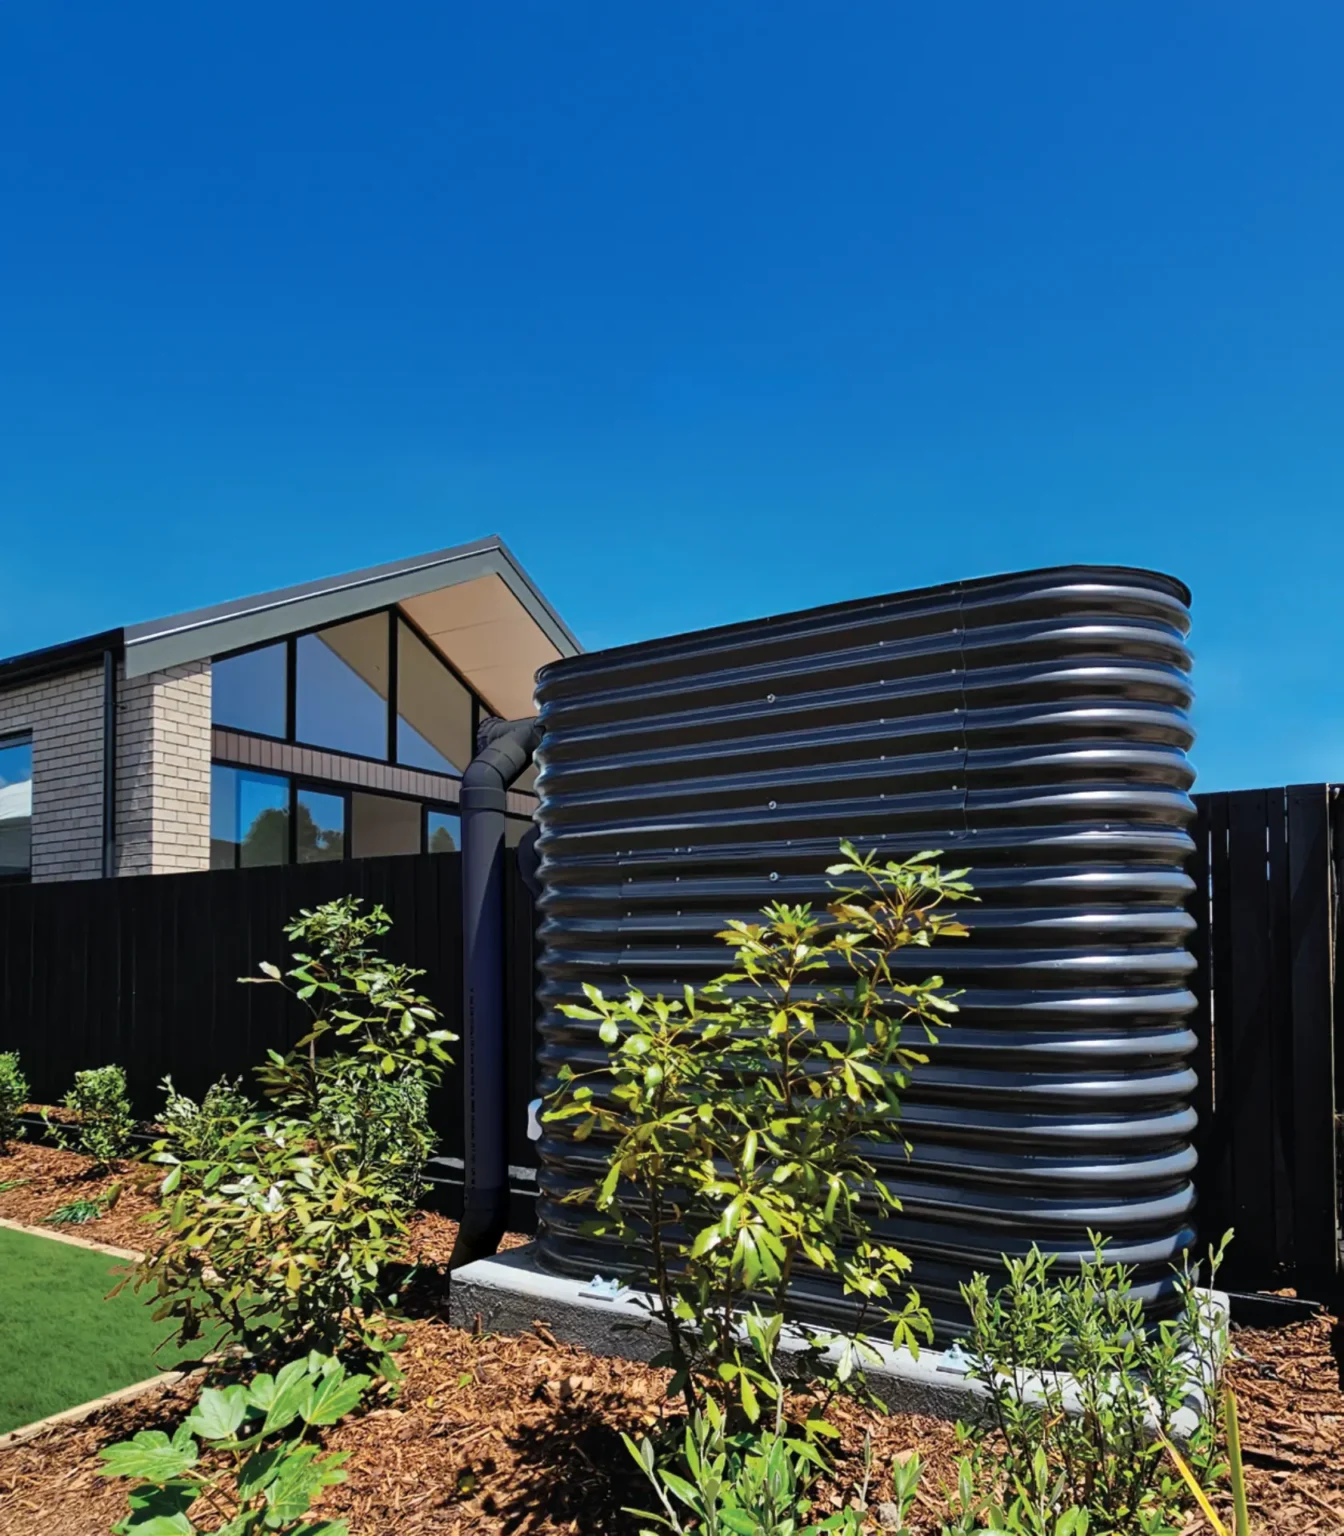
The base of your tank is made with double-sided AQUAPLATE® steel. This means the inside and outside of the tank base are coated with a polymer film to prevent corrosion. The tank may be in direct contact with the tank base and the tank will not corrode. Therefore, there is no reason to elevate the tank above ground level. The tank base needs to be flat and level – within the range of +/- 1.0 degrees.
This base preparation guide should be taken as a guide only. Specific details on the construction of a tank base should be referred to an engineer for formal advice. Tanksalot accepts no responsibility for the failure of a tank base. Please note that the warranty for our product will be void if the base preparations outlined are not in place.
CONCRETE SLAB BASE
A concrete slab base is the most suitable base for your Tanksalot water tank.
Step 1: Prepare the ground. Choose a flat, level area. If the tank is to be positioned on a slope, the slab thickness needs to be increased, seek formal advice from an engineer.
Step 2: Pour the concrete slab. Construct a minimum 150mm thick reinforced concrete slab. The slab must be flat, smooth, and level with no more or less than a 1-degree slope. Finish with a metal trowel.
Step 3: Size the slab correctly. The slab must be large enough to support all edges of the tank and should be a minimum of 65mm longer and wider than the tank on all sides. Up to 100mm is recommended to allow for some tolerance.
Step 4: Cure the concrete Allow the concrete slab to fully cure before placing the tank on it.
Step 5: Install tank bracing if required. If you’re using our Tanksalot manufacturer’s tank bracing system, full details for the concrete slab design requirements can be found in the “A23113 – Stormwater Tank Lateral Restraint Product Manual” technical specification document. Consult an engineer for tank sizes or applications not covered by the associated “Design Statement” technical documentation.

CONCRETE PAVER BASE
To use a concrete paver base, the area must be cleared down to firm earth. A paver base installed on soft ground (i.e. a bare earth bed) will subside over time and is not advisable. To achieve the best paver base:
- Dig down to a firm surface.
- Apply some formwork that is 100mm larger than the tank size.
Note: Formwork should be environmentally sustainable, H2F (Termite Treated) treated pine 90 x 45mm. - Spread sand and cement mix 75mm thick over the entire base.
- Screed the sand mix and check that the material is level and flat. Excess slope/gradient can lead to an unstable tank.
- Compact the base with a plate compactor. Ensure there is adequate compaction (minimum allowable bearing pressure of 50kPa) to avoid subsidence.
- Lay the concrete pavers flat on top of the compacted base with a maximum gap of 25mm between the pavers.
- Once laid, shower the pavers with water to set the sand and cement off.
The paver base needs to be large enough to support all edges of the tank. The tank may be placed on to paver base straight away. Do not fill the tank above 2 corrugations for at least 48 hours to allow the pavers to ‘bed in’ under the load of the partially full tank.

CRUSHER DUST BASE
Crusher dust bases are only suitable for larger-diameter round tanks and must not have particles larger than 5mm in diameter. To achieve the best crusher dust base:
- Dig down to a firm surface.
- A retaining border must be placed around the crusher dust to ensure it does not erode over time or is undermined by heavy rain or burrowing animals.
- Apply some formwork that is 100mm larger than the tank size.
Note: Formwork should be environmentally sustainable, H2F (Termite Treated) treated pine 140mm x 45mm. - Spread the crusher dust 100mm thick over the entire base.
- Screed the crusher dust and check that the material is level and flat with no more than 10mm variation across the base. Excess slope/gradient can lead to an unstable tank.
- Compact the base with a plate compactor. Ensure there is adequate compaction (minimum allowable bearing pressure of 50kPa) to avoid subsidence.
- Place the tank into position ensuring that the base is not damaged during placement. The tank can be filled immediately upon placement.
- Coarse aggregate should be spread over any exposed crusher dust, after the tank is positioned, to prevent erosion.

NEED HELP OR A CUSTOM-MADE TANK?
of experts

NEED TRADE OR BULK PRICING?
your requirements.
There's a lot to like about our tanks.
PEACE OF MIND
Our corrugated steel water tanks are backed by a 20-year corrosion and 10-year construction warranty.
NZ MADE
Our corrugated steel water tanks are made with pride by our passionate team dedicated to helping you from ordering to delivery and installation.
SUSTAINABLE
We use AQUAPLATE® corrugated steel which is fully recyclable and has the lowest overall environmental impact compared to plastic or concrete tanks.
BEAUTIFUL
Our water tanks are loved by architects and homeowners who appreciate that functionality can look great too.
COST EFFECTIVE
Buying a beautiful tank in the exact size to meet your requirements reduces installation and landscaping costs.
CUSTOM MADE
Get a water tank that fits perfectly in your available space to meet your water storage or reuse needs.
Fire resistant
Corrugated steel is a non-combustible material so our tanks can be placed beside dwellings or against boundaries.
Safe
Our corrugated steel water tanks meet AS/NZS 4020 standards for storage of drinking water. They do not contain BPA and UV stabilisers.
Nationwide delivery
Talk to us to get the water tank you need, delivered when and where you want it.